
Svenskt mönster hittar du här!
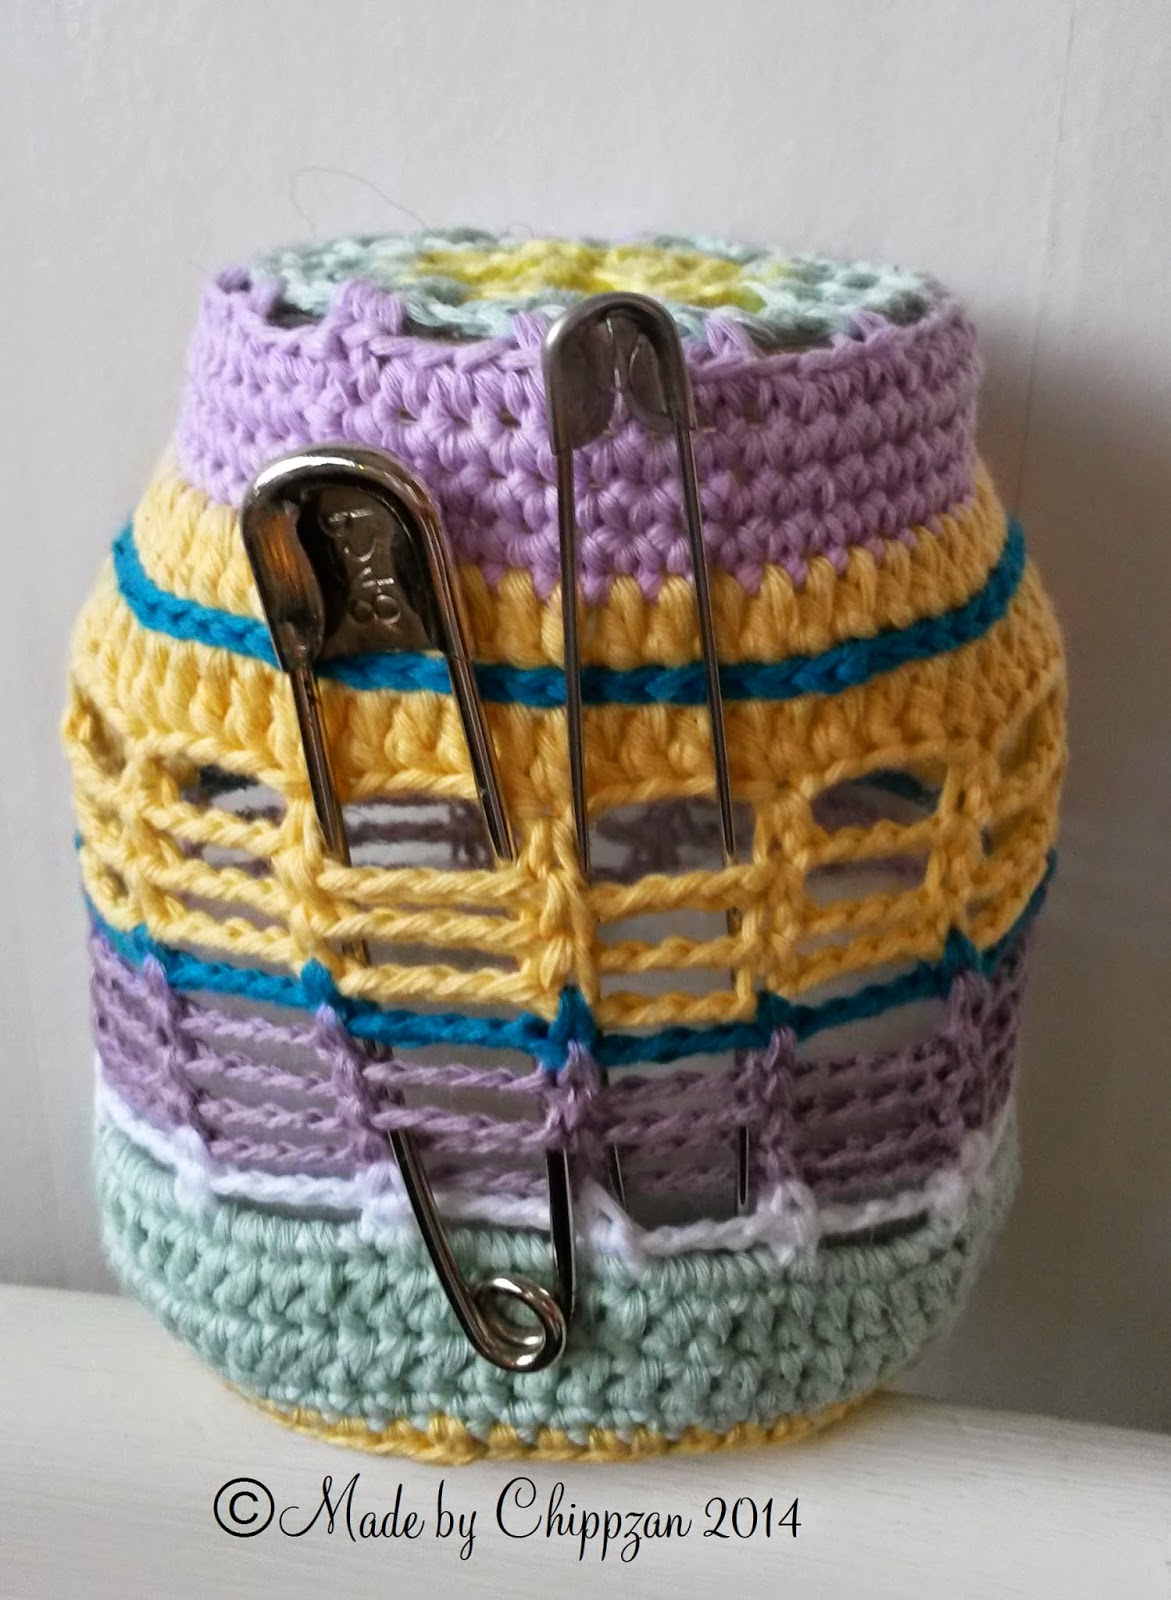
I'm sure you know how it is. You KNOW the hook or all the double point needles you're looking for is in that jar but you just seems to move things around, finding nothing. Frustration makes (at least me) to grab a fistful trying to sort things out... However, that's over! Organize your hooks and needles too with a simple jar cover. Same size on hooks/needles end up in the same hole and makes it much easier to find what you need, fast!
Materials:
- Large Nutella jar
- Filling
- scrap yarn
- hook 3,5 mm/ US E-4

I put some filling on the bottom of the glass jar to prevent hooks/needles to slide around but also to bring up the height a bit. Hooks are shorter than dpn and disappears easily if the jar is to high.

- ch = chain
- sc = single crochet
- dc = double crochet
- sl st = slip stitch
- lp = loop
- EOR = until end of round
The round piece over the opening:
- ch 8, sl st to form a ring.
- ch 6, dc 1, *ch 3, dc 1*. Repeat *-* until you have 7 loops.
End every round with a sl st. - (dc 1, ch 3, ch 1) in lp, *ch 3, (dc 1, ch 3, dc 1) in next lp*. Repeat *-* EOR.
- *sc 1 in dc from prev round, ch 3, dc 1 in next dc*. Repeat EOR.
- *sc 1 in the sc from prev round, sc 3 in lp*. Repeat EOR. [55 sc]
- Sc in back loops only EOR.
- Regular sc through both loops EOR.
- Now the increases start on two sides to fit the Nutella jars oval form.
dc 23, (dc 2in1) five times, dc 23, (dc 2in1) 5 times. [65 dc] - A round of dc.
- *sc 1, ch 4, skip 4 stitches*. Repeat *-* EOR.
- Repeat round 10, making sc in sc from prev round. If you want the V-shaped stitches running parallell (see photo below) you stick your hook between the "legs" of the prev sc instead of the loops. If you do it this way, it doesn't strech as much as when you make regular sc in the loops. It's just a nice touch, not a must :-)
I made 10 rounds with loops. It fits good on my jar. - *sc 1 in sc from prev round, sc 4 round the chain/loop* Repeat *-* EOR.
- Make one round of dc.
- Put your work flat down on the table to see where the increases you made on round 8 are. Place a marker along the sides near the round you're currently working at. It's time to decrease and you need to do it on the same "side" as the increases, otherwise the shape won't fit the jar. Cound 5 stitches backwards from the marker on both sides, that's where the increases will start. Dc 2 together, 5 times on both sides. Between the decreases you make dc as usual.
- Make one round of sc. I made a few decreases (sc 2 together) right over the same spot as the prev round to make it even more snuggly.
- End with one round of sc.
Fasten the ends, pull the cover over the jar and start organizing :-)

 |
| Finished "hat" for my jar :-) |
 |
| Use the holes for your other crafting stuff as well :-) |

Enjoy the result!
Inga kommentarer:
Skicka en kommentar